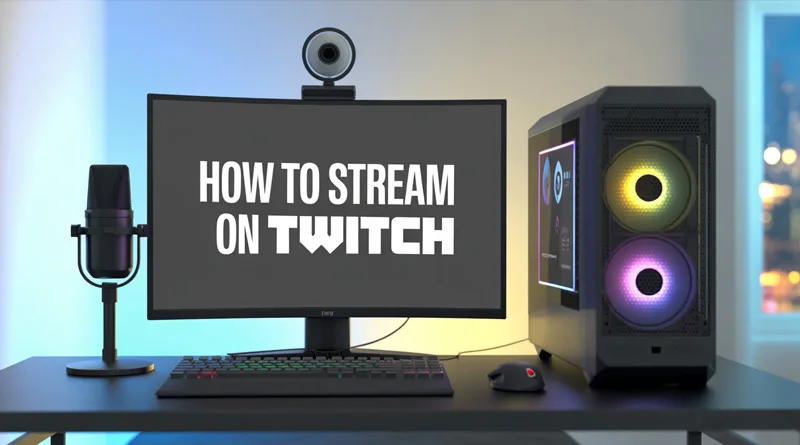
Learning how to stream on Twitch can feel like a huge challenge at first, but it’s one of the most exciting journeys you can start online. Whether you dream of becoming the next big gaming icon or simply want to build a fun community around a shared hobby, you’re in the right place. This ultimate guide is your complete roadmap. We’ll walk you through every step, from the essential gear to the nitty-gritty settings, to ensure your first stream is a massive success.
Table of Contents
What Hardware Do You Need to Stream on Twitch?
Before you can figure out how to stream on Twitch, you need to make sure your equipment is up to the task. Here is the essential hardware you’ll need for a quality broadcast. You don’t need a multi-thousand-dollar setup to start. The key is to invest in a few quality pieces of gear that form the foundation of your streaming career. This is the essential hardware for anyone serious about starting their journey.
A Capable Computer
Your PC is the engine of your stream. It has to run your game, capture the video, encode it, and send it to Twitch all at once. While you don’t need a supercomputer, a modern processor (like an Intel i5 or AMD Ryzen 5 from the last few years) and at least 16GB of RAM is a solid starting point for a smooth experience when you stream on Twitch.
An Essential Microphone
This is non-negotiable: your audio quality is more important than your video. Viewers will tolerate a 720p webcam, but they will leave instantly for crackling, muffled, or quiet audio. Thankfully, you don’t need to spend a fortune to sound professional. A quality USB microphone is the single best first investment you can make, and you can find our top recommendations in our guide to the best budget microphones for streaming.
A Decent Webcam
While you can stream without one, a webcam is crucial for connecting with your audience. Seeing your reactions makes the stream more personal and engaging. A simple 1080p webcam like the Logitech C920 is a classic for a reason and is more than enough to get started.
The Best Software for How to Stream on Twitch
Hardware is only half the battle. You need the right software to bring your vision to life and manage your stream effectively. Using the right tools is a core part of learning how to stream on Twitch.
Streaming Applications (OBS Studio)
This is the program that captures your game and webcam and sends it to Twitch. The industry standard is OBS Studio. It’s free, powerful, and endlessly customizable. It can seem intimidating at first, but learning the basics is straightforward for any aspiring streamer.
Alerts and Bots
Alerts are the on-screen notifications that pop up when someone follows or subscribes. Bots can help moderate your chat. Tools like StreamElements or Streamlabs integrate directly with OBS and make setting these up incredibly easy, adding a professional touch to your stream.
Key Settings and Configuration for Your Stream
Once you have your hardware and software, dialing in the right settings is what separates a smooth, professional-looking stream from a pixelated, buffering mess. Let’s break down the most critical settings you need to configure in a program like OBS Studio.
Bitrate and Resolution
Bitrate is the amount of data you send to Twitch. A higher bitrate means a clearer picture. This is directly tied to your internet upload speed. Streaming in 1080p at 60fps typically requires a bitrate around 6,000 kbps. Getting this right is critical for a professional-looking broadcast.
Overlays and Graphics
hink of bitrate as the amount of data you send to Twitch every second. A higher bitrate means a clearer, higher-quality image, but it also requires a more stable and fast internet connection.
- Resolution: This is the size of your video (e.g., 1080p, 720p). For most new streamers, streaming at 720p (1280×720) and 60 frames per second (fps) is the perfect starting point. It provides a crisp image without being too demanding on your PC or internet.
- Bitrate: For a 720p 60fps stream, a bitrate between 3,500 and 4,500 kbps is ideal. If you have a very strong internet connection and a powerful PC, you can push to 1080p 60fps with a bitrate of 6,000 kbps.
Choosing the right balance is crucial for your specific internet speed and the type of game you’re playing. For a deep dive into finding the perfect number for your setup, check out our complete guide on the best bitrate for Twitch.
Going Live: Your First Twitch Stream
You’ve done the technical work! Now for the fun part.
The “Go Live” Checklist
- Open your game.
- Open OBS Studio and ensure your scenes are correct.
- Give your stream a catchy title and set your game category on Twitch.
- Click “Start Streaming” in OBS. You’re live!
Tips for a Great First Stream
- Talk, even if no one is there. Narrate what you’re doing. New viewers are more likely to stay if you’re already engaged.
- Don’t worry about numbers. Your first stream might have 0 viewers. That’s normal! Focus on having fun.
- Engage with chat. If someone says hello, greet them back! Chat interaction is the magic of what makes learning how to stream on Twitch so rewarding.
Starting your channel is a marathon, not a sprint. Focus on creating a welcoming space, having fun, and improving one small thing with every stream. Good luck
Encoder Settings: Letting Your PC Do the Work
The encoder is what takes your gameplay and compresses it into a video format to send to Twitch. You’ll typically have two options:
- x264 (CPU Encoding): This uses your computer’s processor. It offers excellent quality but can be very demanding, potentially causing in-game performance to drop. Use a “faster” preset (like veryfast or superfast) to reduce the load.
- NVENC (GPU Encoding): If you have a modern NVIDIA graphics card (GTX 16-series or newer), this is the recommended choice. It uses a dedicated chip on your GPU, having a minimal impact on your gaming performance while providing excellent quality. Use this if you have it.
Setting Up Your Scenes and Sources
In OBS, a “Scene” is a layout that you can switch to on stream (e.g., a “Be Right Back” screen, a “Starting Soon” screen, your main gameplay screen). A “Source” is anything you add to that scene.
Your main gameplay scene should include at least these sources:
Browser Source: This is how you’ll add things like alerts and overlays.
Game Capture: To capture your game footage.
Video Capture Device: To add your webcam feed.
Audio Input Capture: To add your microphone.
Customizing your stream’s look with unique alerts can make a huge difference in engaging your audience. To learn how to set this up, see our tutorial on creating custom animated Twitch alerts.
Conclusion
Learning how to stream on Twitch is a journey, not a destination. By following this guide, you now have the foundational knowledge of the hardware, software, and key settings needed to start your first broadcast. Remember to be consistent, engage with your community, and most importantly, have fun. You’re now ready to go live!
Frequently Asked Questions (FAQ)
- Q1: How much does it cost to start streaming on Twitch?
- A1: You can start for free using existing hardware like a console or a basic PC. However, for a quality setup, a good starting budget is around
150−150−300 for a quality USB microphone and a decent webcam.
- A1: You can start for free using existing hardware like a console or a basic PC. However, for a quality setup, a good starting budget is around
- Q2: Do I need a fast internet connection to stream?
- A2: Yes, upload speed is critical. A minimum of 5-6 Mbps upload speed is recommended for a stable 720p stream. You can test your speed using a site like Speedtest.net.
- Q3: Is it hard to learn how to stream on Twitch?
- A3: While there’s a learning curve with the software, the basic process of learning how to stream on Twitch is straightforward. This guide covers all the essentials to get you live, and from there it’s about practice and consistency.